I attempted my first DIY project in the garden.
We have 5 Styrofoam boxes that we brought over from Australia. They were pretty sturdy and I thought to use them for something other than storage. I wanted to use them in the garden, but did not want to use them for growing edibles. Their waterproof nature gave me the idea to use them as a wicking bed, as that needs an enclosed water reservoir.
A bit of definition here: A wicking bed is a kind of self-watering garden bed, where the plants suck up water from a layer below their roots. This action is called 'wicking'. In nature, the plants grow in fertile soil, below which are the many layers of coarse soil, stones, etc. that separate the growing medium from the water table.
In this project, I used the following:
- Styrofoam box
- Expanded clay aggregate
- Plastic pipe - large diameter and small diameter
- Geo textile fabric
- Growing medium - soil + cocopeat + compost
- Plants
Now, since I have been a project engineer in my past life, I had to make a timing plan and a costing sheet :) In the end, I still had left-over paint, geotextile fabric, clay aggregates, soil, compost and cocopeat.
Here is the styrofoam box that I used. It looks pretty boring this way and bore the signs of transport. So I am going to perk it up.
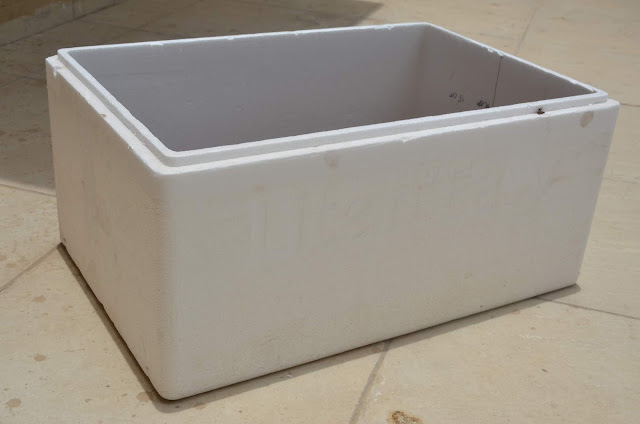 |
| Styrofoam box |
I painted it using Fevicryl acrylic paints. I had to coat it 3 times to get a nice and even colour.
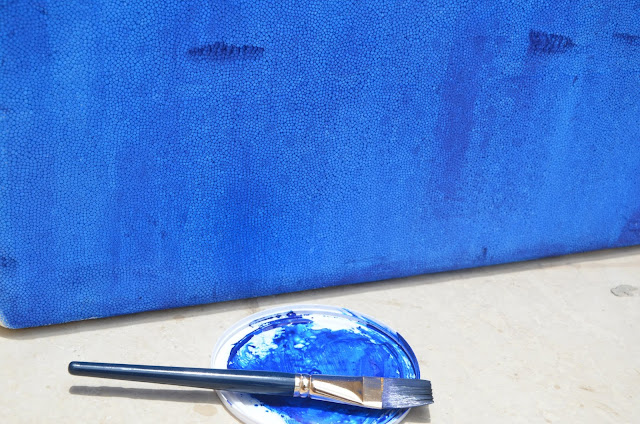 |
| Painted box |
Then I started making my layers. Right at the bottom will be the water reservoir. I used expanded clay aggregates. This layer provides the base for the soil to sit on, hence needs to be able to support the weight of everything on top of it. The clay aggregates absorb some of the water, so the space does not go wasted. The height of the water trough should be less than 13cm, while the soil height should be between 15cm (for leafy plants) to 50 cm (for root plants). The box I had was not tall enough, so I filled the box till 8cm with the stones. Additionally, I am only going to plant leafy plants, so kept the soil height to the minimum.
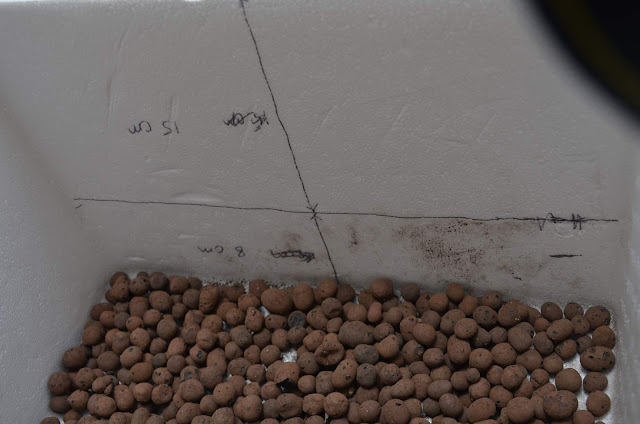 |
| Heights of layers |
Here is what the clay aggregate layer looks like.
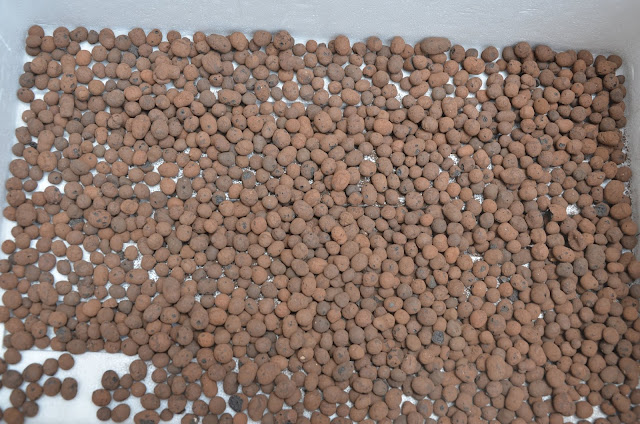 |
| Clay aggregates |
Once the clay aggregate has been layered, we need to make a drain pipe outlet. I used a small diameter pipe and ran it through the wall of the box. Once the trough is filled with water, the drain pipe will drain the water when it reaches the top of the stones. This will indicate that we should stop filling the water in the bed.
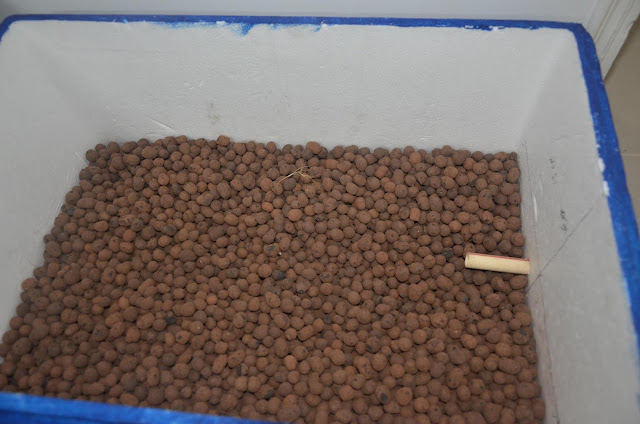 |
| Inside view of the drain pipe |
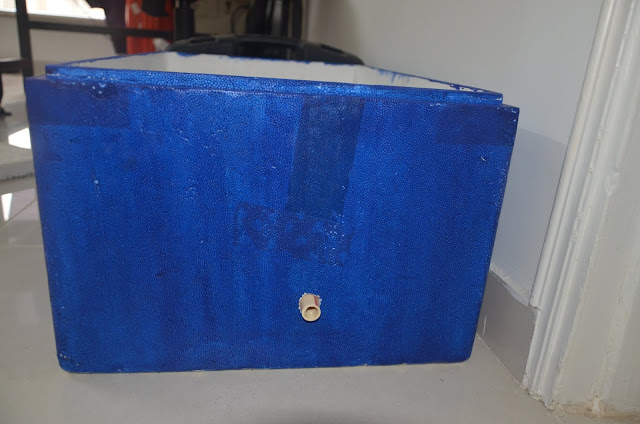 |
| Outside view of the drain pipe |
Next goes in the larger diameter pipe that we will use to pour water in the trough. I had a moss stick from the money plant I bought. That suits the purpose and would look good as well. To make sure that no stones get stuck in the mouth of the pipe that is in the water trough, I put a bit of geotextile fabric over the mouth. I did the same with the small pipe as well.
Before we put in the soil mix, we need to add a layer of geotextile fabric. This will prevent the soil from falling into the water trough.
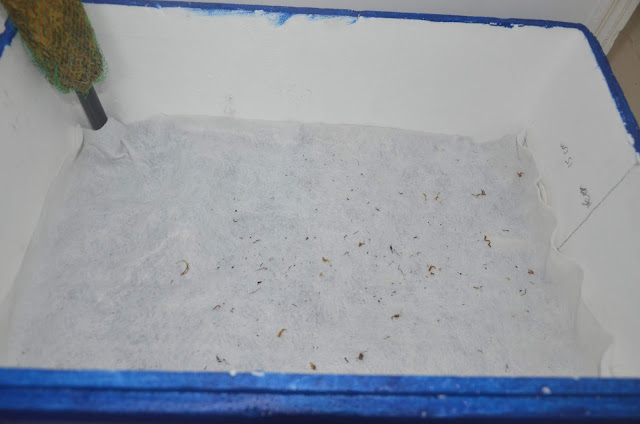 |
| Geotextile layer |
The final layer is the soil mix. I mixed red soil, cocopeat and compost.
The plant selection was a difficult one. This is an indoor planter and I had to select plants that would not be poisonous to dogs. Additionally, I wanted a collection that had different colours and leaf sizes. We finally settled on a Coleus, Money plant and Golden Gate Peperomia.
Here is what the final product looks like!
 |
| Completed wicking bed |
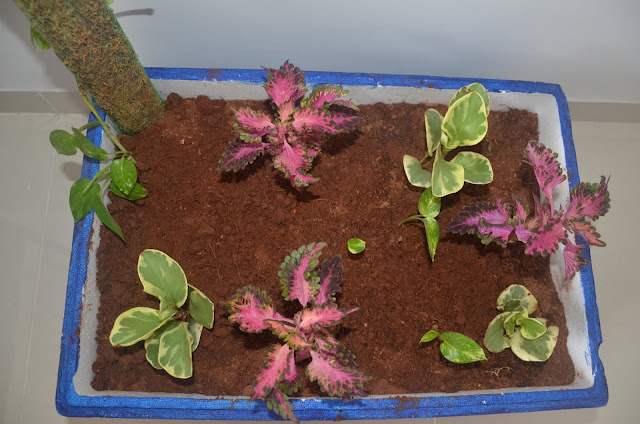 |
| Plants in the wicking bed |


